How to Fillet a Grouper
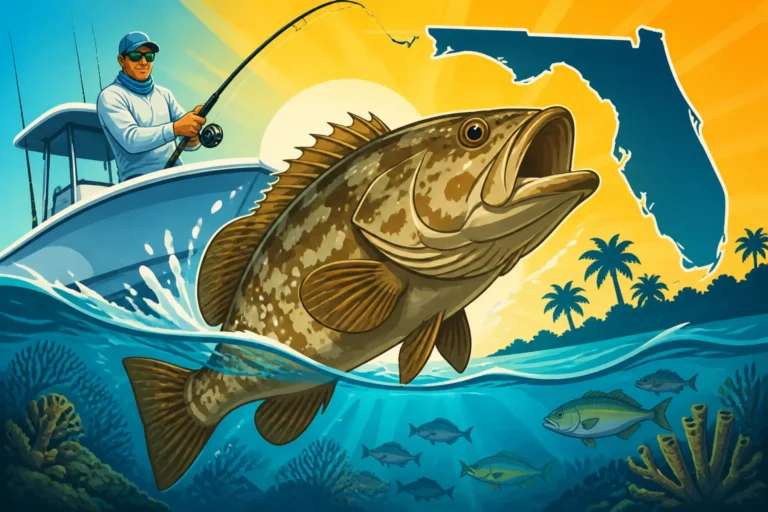
Catching a beautiful grouper off the Florida coast is an exhilarating experience, but let's be honest, that moment of triumph at the boat's edge can quickly turn into a slight dread when you think about the filleting process. Those big bones, the thick skin, and the desire to get every last bit of that delicious white meat can feel daunting. This guide is here to demystify the art of filleting a grouper, ensuring you can confidently transform your fresh catch into perfect, ready-to-cook fillets, maximizing your yield and minimizing your frustration.
The Essential Tools You'll Need for Filleting Grouper
Before you even think about laying your prized grouper on a cutting board, you need to ensure you have the right tools for the job. Trust me, trying to fillet a substantial fish like a grouper with a dull knife or on an unstable surface is a recipe for wasted meat and potential injury. Don't skimp on these essentials; they make all the difference.
A Sharp Fillet Knife is Non-Negotiable
When it comes to filleting, sharpness isn't just a suggestion, it's an absolute requirement. A truly sharp knife glides through flesh and cartilage with minimal effort, giving you clean cuts and much more control. A dull knife, on the other hand, will tear the meat, slip dangerously, and leave you exhausted. For grouper, you'll want a sturdy fillet knife with a blade typically between 7 and 9 inches long. A slightly stiffer blade than what you might use for a delicate snapper can be beneficial, as it helps navigate the grouper's thicker bones and tougher skin.
There are many fantastic fillet knives out there, from reputable brands often found on retailers like Amazon, offering various handle materials and blade designs. Consider one that fits comfortably in your hand, providing a good grip even when wet. A well-maintained knife, perhaps like a Dexter-Russell or a quality Rapala, will be your best friend. Remember, you're looking for precision, not brute force.
Your Cutting Surface and Other Must-Haves
Beyond the knife, your setup is crucial for efficiency and safety. A stable, non-slip cutting board is paramount. Imagine trying to fillet a slippery, 20-pound grouper on a small, wobbly board – it’s a disaster waiting to happen. Opt for a large, heavy-duty plastic or composite board that won't absorb fish odors and can be easily sanitized. Many anglers prefer boards with a lip or channel around the edge to catch juices, keeping your workspace cleaner.
Next, a good pair of cut-resistant gloves can offer peace of mind, especially if you're new to filleting larger fish. A fish scaler, while not strictly necessary if you plan to skin the fillet, can be handy for preparing the fish if you decide to keep some skin on, or just to keep the mess down. Finally, and this is super important, have a cooler full of ice ready. As soon as those beautiful fillets are off the bone, they need to go straight onto ice to preserve their quality. You can find excellent, durable coolers and other gear on Amazon, ensuring your catch stays prime.
Here's a quick checklist of essential filleting tools:
| Tool | Purpose | Why It's Important |
|---|---|---|
| Sharp Fillet Knife | Precision cuts, separating meat from bone and skin | Clean cuts, safety, maximum yield |
| Large Cutting Board | Stable, sanitary surface | Prevents slips, keeps workspace clean, food safety |
| Fish Scaler (Optional) | Removes scales quickly | Prepares fish if skin is kept, reduces mess |
| Cut-Resistant Gloves | Hand protection | Prevents cuts, improves grip on slippery fish |
| Cooler with Ice | Chilling fillets immediately | Preserves freshness and quality |
| Boning Tweezers | Removes small pin bones | Ensures a boneless, pleasant eating experience |
| Sharpening Steel/Stone | Maintains knife edge | Keeps your primary tool effective throughout the process |
The Step-by-Step Process: How to Fillet a Grouper
Alright, gear checked, mind focused. Now it's time to get down to business. Filleting a grouper isn't as intimidating as it might seem, especially once you understand the basic anatomy and follow a logical progression of cuts. Patience and a sharp knife are your best allies here.
Preparing Your Grouper for Filleting
First things first, make sure your grouper is chilled. A colder fish is firmer and much easier to handle, leading to cleaner cuts. If you've just brought it in from a great day out, say after following a Florida Fishing Charter Guide, keep it on ice for a bit before you start. Give the fish a quick rinse to remove any loose scales or debris. Then, lay the grouper on your large, stable cutting board. Position it so the head is facing away from you, and the fish is steady. Some folks like to pat it dry with a paper towel to reduce slipperiness, but a firm grip with your gloved hand usually suffices.
Making the Initial Cuts
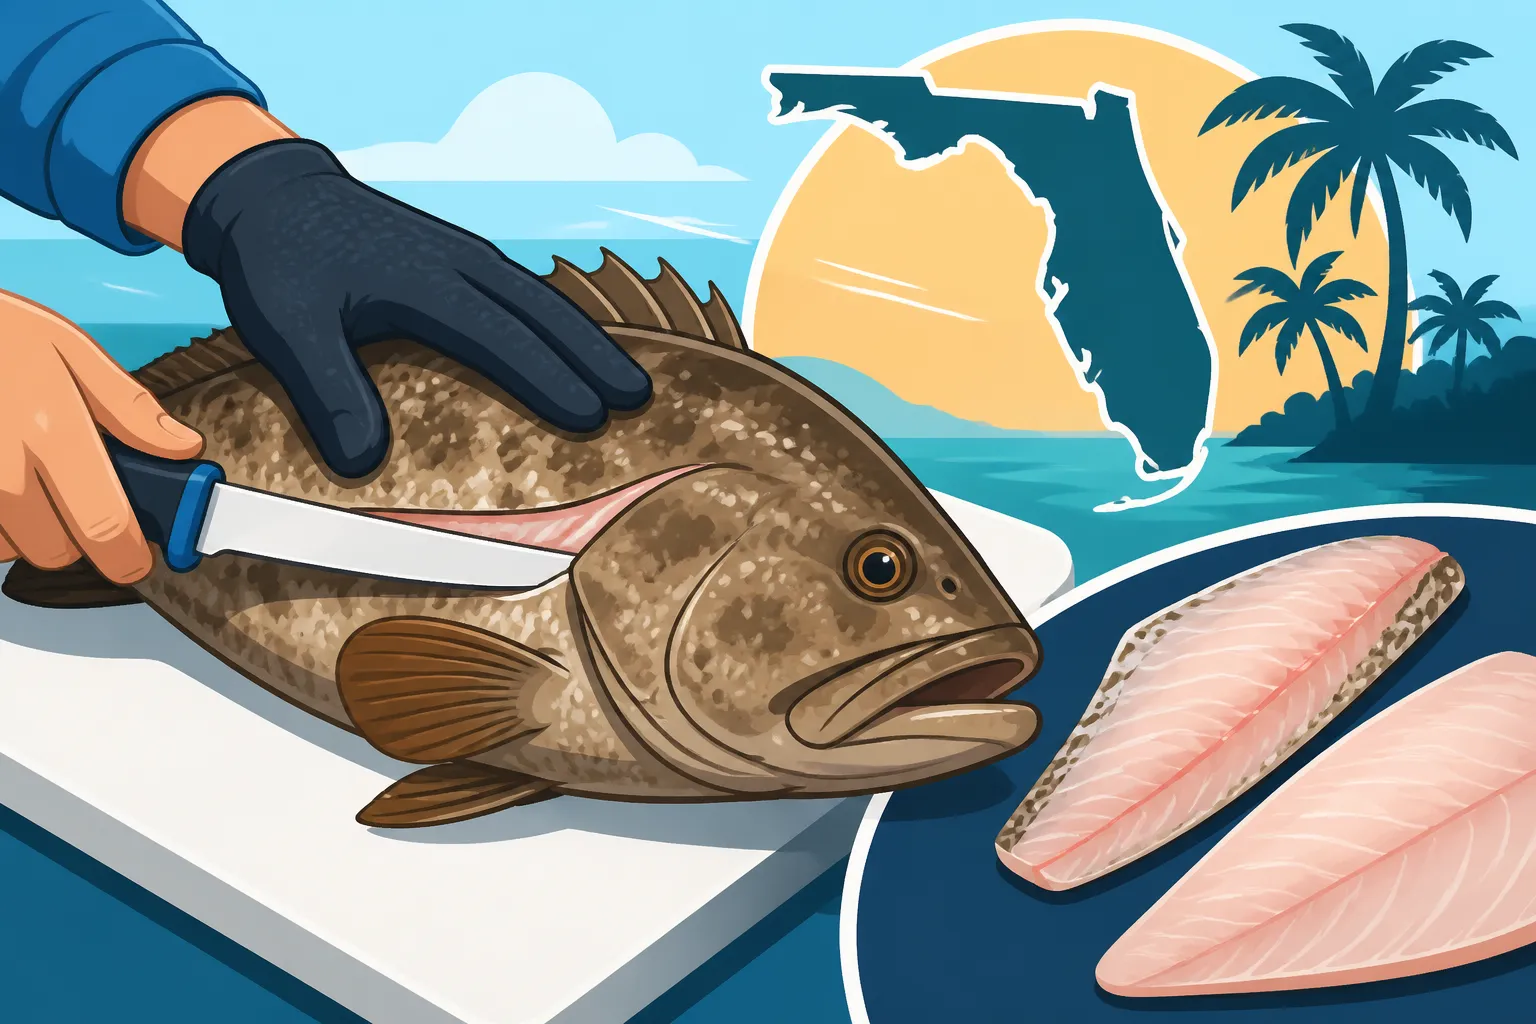
This is where you start defining your fillets. Begin by making a deep cut directly behind the gill plate, down to the backbone. Don't cut through the backbone yet. Next, turn your knife blade flat and run it along the top of the backbone, from your initial cut all the way down to the tail. You're essentially creating a "fillet outline" on the top of the fish. This cut should extend down to the dorsal fins. For some species, especially if you're fishing in the Atlantic, knowing your grouper size and bag limits is critical, so always double-check regulations before you even start cutting to ensure you're within legal parameters.
Now, flip the fish over and repeat the same cuts on the other side. This establishes the two main sections of meat you'll be removing. These initial cuts are perhaps the most crucial for setting up a clean filleting process. Take your time, feel the backbone with your knife, and ensure your cuts are straight and deep enough without severing the fish completely.
Separating the Fillet from the Rib Cage
This is where the magic happens and where a sharp knife truly shines. Start from the head end, where you made that initial cut behind the gill plate. Insert your knife tip and carefully cut along the top of the backbone, using it as a guide. Your goal is to keep the blade as close to the bone as possible to maximize your meat yield. Continue this cut, slowly separating the meat from the spine.
Once you reach the rib cage, you have two main options. You can either cut over the ribs, detaching the top portion of the fillet, and then go back to cut under the ribs to get the belly meat. Or, you can carefully cut around the rib cage. Many experienced anglers prefer to angle their knife slightly, following the curve of the ribs with short, controlled strokes. It takes practice, but by working your way around the rib bones, you can detach the entire fillet in one piece, leaving the rib cage attached to the carcass. Remember, the objective is to leave as little meat on the bones as possible. This step will significantly impact how much delicious meat you take home from your Florida Grouper Fishing Guide adventure.
Removing the Skin
With your beautiful, boneless fillet in hand, the next step is removing the skin. Grouper skin, while not inedible, is quite tough and usually not desired for culinary purposes. Lay the fillet skin-side down on your clean cutting board. Start at the tail end, gripping the very tip of the skin firmly with one hand. With your other hand, insert your knife blade at a shallow angle, just above the skin and below the meat.
Now, apply steady pressure to the knife and saw gently back and forth, pulling the skin firmly away from the blade with your free hand. The key here is to keep the knife blade angled slightly downwards towards the skin, so you're not cutting into the meat. It takes a little practice to get a smooth, even separation, but soon you'll have a pristine, skinless fillet. A good, flexible fillet knife available on Amazon can make this step much easier by conforming to the fillet's contours.
Trimming and Preparing for the Table
You're almost there! After skinning, your fillet might have a few imperfections. Look for any remaining pin bones – these are small, fine bones that often run along the lateral line. You can usually feel them by running your finger along the fillet. Use a good pair of boning tweezers or the tip of your knife to pull these out. Next, trim off any dark bloodline meat, which often has a stronger, fishier flavor that some people prefer to remove. Also, inspect the belly meat; sometimes there's a thin layer of fat or membrane that you might want to trim for a cleaner presentation.
Once trimmed, you'll have a beautiful, restaurant-quality grouper fillet ready for cooking. You might want to cut the larger fillets into portion sizes. If you're wondering how to prepare your fresh catch, you can find some fantastic ideas in our guide on the Best Way to Cook Grouper. Immediately place these finished fillets into a freezer bag or container with a little ice water in your cooler to keep them as fresh as possible until you're ready to cook.
Tips for a Better Filleting Experience (and More Meat!)
Filleting is a skill that improves with practice, but there are a few pro tips that can elevate your game from the get-go, ensuring you get the most out of every grouper you catch.
Keeping Your Knife Razor Sharp
We've talked about the importance of a sharp knife, but maintaining that sharpness throughout the filleting process is equally vital. Even the best blades will dull after several cuts, especially when dealing with the tough skin and bones of a grouper. Have a sharpening steel or a fine-grit whetstone nearby. After filleting one side or even after a particularly tough cut, take a moment to run your knife along the steel a few times. This re-aligns the microscopic edge of the blade, bringing back its keenness.
If your knife is seriously dull, a whetstone or an electric sharpener is necessary before you even start. Think of it like this: a truly sharp knife means less effort, less chance of slipping, and ultimately, more enjoyable and productive filleting sessions. Investing in a good knife sharpener is just as important as the knife itself.
Maximizing Your Yield
Nobody wants to leave good meat on the bone! One common mistake is not getting close enough to the backbone or the rib cage. When cutting along the spine, try to angle your knife slightly downwards, really hugging that bone. For the rib cage, don't be afraid to use the tip of your knife to trace the curve of each rib bone. It takes a bit more time, but it pays off in extra ounces of delicious meat.
Another often-overlooked source of meat is the "cheeks" – the tender nuggets of meat found on the head of the fish. Carefully cut around the eye socket and gill plate, and you can usually pry out a sizable, succulent piece of meat. It's a small detail, but it speaks to truly maximizing your harvest, especially after a successful day utilizing efficient Florida Offshore Fishing Techniques. Remember, every little bit counts, especially when you've worked hard for your catch.
Safety First: Protecting Yourself While Filleting
This is not a step to be rushed. Fish can be slippery, knives are sharp, and accidents can happen in a blink. Always use a stable cutting surface that won't slide around. A damp towel placed underneath your cutting board can help prevent movement. Wear cut-resistant gloves, especially if you're new to the process or if the fish is particularly large and unwieldy.
When making cuts, always cut away from your body. Keep your free hand (the one not holding the knife) well clear of the blade's path. Use short, controlled strokes rather than long, sweeping ones, especially when navigating around bones. If you feel resistance, don't force it; re-evaluate your angle. A momentary pause to adjust your grip or knife position is always better than a trip to the emergency room.
What to Do with the Scraps: Beyond the Fillet
Once you have your pristine grouper fillets, you might be tempted to toss the rest. But wait! The "scraps" of a grouper are far from waste. With a little creativity, you can honor your catch by using almost every part.
Making Fish Stock and Other Culinary Uses
The head, bones, and trimmings left after filleting are gold for making a rich, flavorful fish stock. This stock is an incredible base for soups, stews, sauces, and risottos, adding a depth of flavor that store-bought stocks simply can't match. Simply simmer the bones, head, and trimmings with aromatic vegetables like onions, carrots, and celery, a bay leaf, and some peppercorns for an hour or so. Strain it, and you'll have a beautiful, savory liquid ready to elevate your next meal.
Beyond stock, those grouper cheeks we mentioned? They're often considered a delicacy – firm, sweet, and delicious simply pan-seared or grilled. If you’ve managed to get some good belly meat during your filleting process, this fatty section is fantastic for smoking or making fish tacos. Even the collars (the section right behind the gill plates) can be grilled or baked, offering rich, moist meat. Making the most of your catch is a great way to respect the resource, and it’s a practice cherished by many Florida anglers. You might be surprised at the culinary treasures you can find in what others might discard!
Responsible Disposal
If you do have true waste that you won't be using for stock or other culinary purposes, responsible disposal is key. Never just toss fish carcasses or entrails into the water near swimming areas, residential canals, or boat ramps, as this can attract unwanted scavengers and create unsanitary conditions. Instead, double-bag the waste and dispose of it in your regular household trash. For larger quantities, some local municipalities or marinas might have designated waste disposal bins for fish remains. If you're unsure about the rules, a quick call to your local waste management or a quick search online can provide clarity.
Being a responsible angler goes beyond just knowing the Florida Fishing Regulations and Bag Limits for the fish you catch; it also extends to how you handle and dispose of your catch. This practice helps ensure healthy ecosystems and pleasant environments for everyone to enjoy Florida's beautiful waters, whether they're fishing, swimming, or just enjoying the scenery.
Disclaimer
This article is for general informational purposes only and does not constitute professional advice. Laws, prices and regulations vary by location and change over time. Consult a qualified professional for guidance on your specific situation.