How to Fillet a Snapper
You've just had an incredible day out on the water, battling the beautiful Gulf or Atlantic, and your cooler is brimming with vibrant snapper. Now comes the moment of truth: turning that magnificent catch into a delicious meal. For many anglers, the thought of filleting a fish can feel a little daunting, like a culinary exam you didn't study for. But don't you worry, because this guide is here to walk you through the process of filleting a snapper, ensuring you get the most out of your hard-earned catch with confidence and a clean cut.
Why Filleting Your Own Snapper is a Game-Changer
There’s something truly special about catching your own fish, bringing it home, and preparing it with your own hands. It completes the entire experience, from the thrill of the bite to the deliciousness on your plate. Filleting your own snapper isn't just about saving a few bucks at the fish market; it's about connecting with your food, ensuring peak freshness, and gaining a valuable skill that enhances your entire fishing adventure.
The Freshness Factor
When you fillet your own fish, you're in control of the entire process from water to table. This means you can process your catch moments after it’s been landed, often while it's still chilling on ice. This immediate care dramatically impacts the quality and flavor of the meat. Imagine the difference between a fish that's been handled by multiple people, transported, and then sits at a counter for hours, versus a fish that goes directly from your boat to your cutting board. The difference in taste, texture, and overall freshness is incomparable. We're talking about ocean-to-plate freshness that you simply can't buy. Making sure your catch stays on ice and is kept cool after landing is crucial, and you can learn more about that in our guide on Best Way to Keep Fish Fresh on a Boat.
Taking Pride in Your Catch
There's an immense sense of satisfaction that comes from presenting a perfectly filleted piece of snapper that you not only caught but also prepared yourself. It’s a badge of honor for any angler. This pride extends beyond just the meal; it fosters a deeper appreciation for the fish, the waters of Florida, and the entire ecosystem. It's not just about sustenance; it's about self-sufficiency and mastering a craft. It’s a skill that will impress your friends and family, making you the hero of every fish fry or dinner party.
Economic Sense and Custom Cuts
Let’s be honest, taking your fish to a professional processor can add up, especially if you're bringing in a decent haul. Learning to fillet yourself eliminates that cost, allowing you to invest more in quality gear or maybe even another fishing trip! Beyond saving money, you also gain the power of customization. Do you prefer thinner fillets for quick frying, or thicker, meatier portions for grilling? When you're the one holding the knife, you can cut the fish exactly to your preference, ensuring every piece is perfect for its intended culinary destiny. This control over your final product is a huge advantage.
Essential Tools for a Clean Snapper Fillet
Before you even think about making that first cut, it’s crucial to gather the right tools. Trying to fillet a snapper with a dull, inappropriate knife is like trying to drive a nail with a screwdriver – frustrating, ineffective, and potentially dangerous. Having the right equipment makes the job much easier, safer, and ultimately more successful.
The Right Fillet Knife
This is, without a doubt, your most important tool. A good fillet knife isn't just sharp; it's designed for the job. You'll want a knife with a thin, flexible blade, typically between 6 to 9 inches long for most snapper. The flexibility allows you to follow the contours of the fish's bones, maximizing meat yield and minimizing waste. A sharp blade is paramount for clean cuts and reducing the effort needed, which in turn reduces the risk of slipping. You can find excellent options on Amazon, with many reputable brands offering knives specifically for filleting. Look for a comfortable, non-slip handle, as your hands will likely get wet during the process.
A Sturdy Cutting Surface
Working on an unstable surface is a recipe for disaster. You need a cutting board that won't slide around, ideally one with a non-slip base or rubber feet. Large plastic or composite cutting boards are excellent choices as they are easy to clean and sanitize. Avoid wooden boards for fish, as they can absorb odors and harbor bacteria more easily. A size around 18×24 inches is usually sufficient for most snapper, giving you plenty of room to work safely and efficiently. Some anglers even use specialized fish-cleaning stations designed for stability and easy cleanup.
Other Handy Accessories
While the knife and cutting board are non-negotiable, a few other items can make your filleting experience smoother:
- Fish Scaler: Before you even think about filleting, some people prefer to scale the fish. While not strictly necessary if you're removing the skin, scaling can make the initial handling a bit cleaner.
- Fish Gripper or Towel: These are invaluable for holding the slippery fish steady, especially larger snapper, while you make your cuts. A simple wet towel works wonders too.
- Gloves: Cut-resistant gloves can offer an extra layer of protection, particularly if you're new to filleting or handling larger, spiny fish. Latex or nitrile gloves can also help with hygiene.
- Cooler with Ice: Keep your fillets on ice immediately after cutting to maintain peak freshness until they're ready to be cooked or frozen.
- Sharpening Steel or Stone: Even the best knife will dull with use. A quick touch-up with a sharpening steel between fish, or a more thorough sharpening with a stone after a long session, will keep your blade in top condition.
Step-by-Step Guide to Filleting Your Snapper
Alright, let's get down to business! This step-by-step guide will help you transform your whole snapper into beautiful, boneless fillets. Remember, practice makes perfect. Your first few might not look like they came from a professional fishmonger, but with each fish, you'll get smoother and more efficient.
Preparing Your Workstation and the Fish
First things first: set up a clean, well-lit workstation. Ensure your cutting board is stable and won't slip. Have a bucket or bag nearby for the carcass and trimmings – this helps keep your area clean and makes disposal easier.
Now, prepare your snapper. Give it a good rinse under cold water to remove any loose scales, slime, or blood. If you plan on skinning the fillet, scaling the fish first isn't strictly necessary, but it can make handling less messy. Place the fish on your cutting board, making sure it’s stable. Some anglers prefer to leave the head on for better grip; others remove it upfront. For this guide, we'll assume the head is still attached, giving you a natural handle. Many snapper species, like the popular Florida Mangrove Snapper Fishing Guide target, are ideal for this method.
Making the Initial Cuts
This is where the magic begins. Hold the fish firmly by the head or tail.
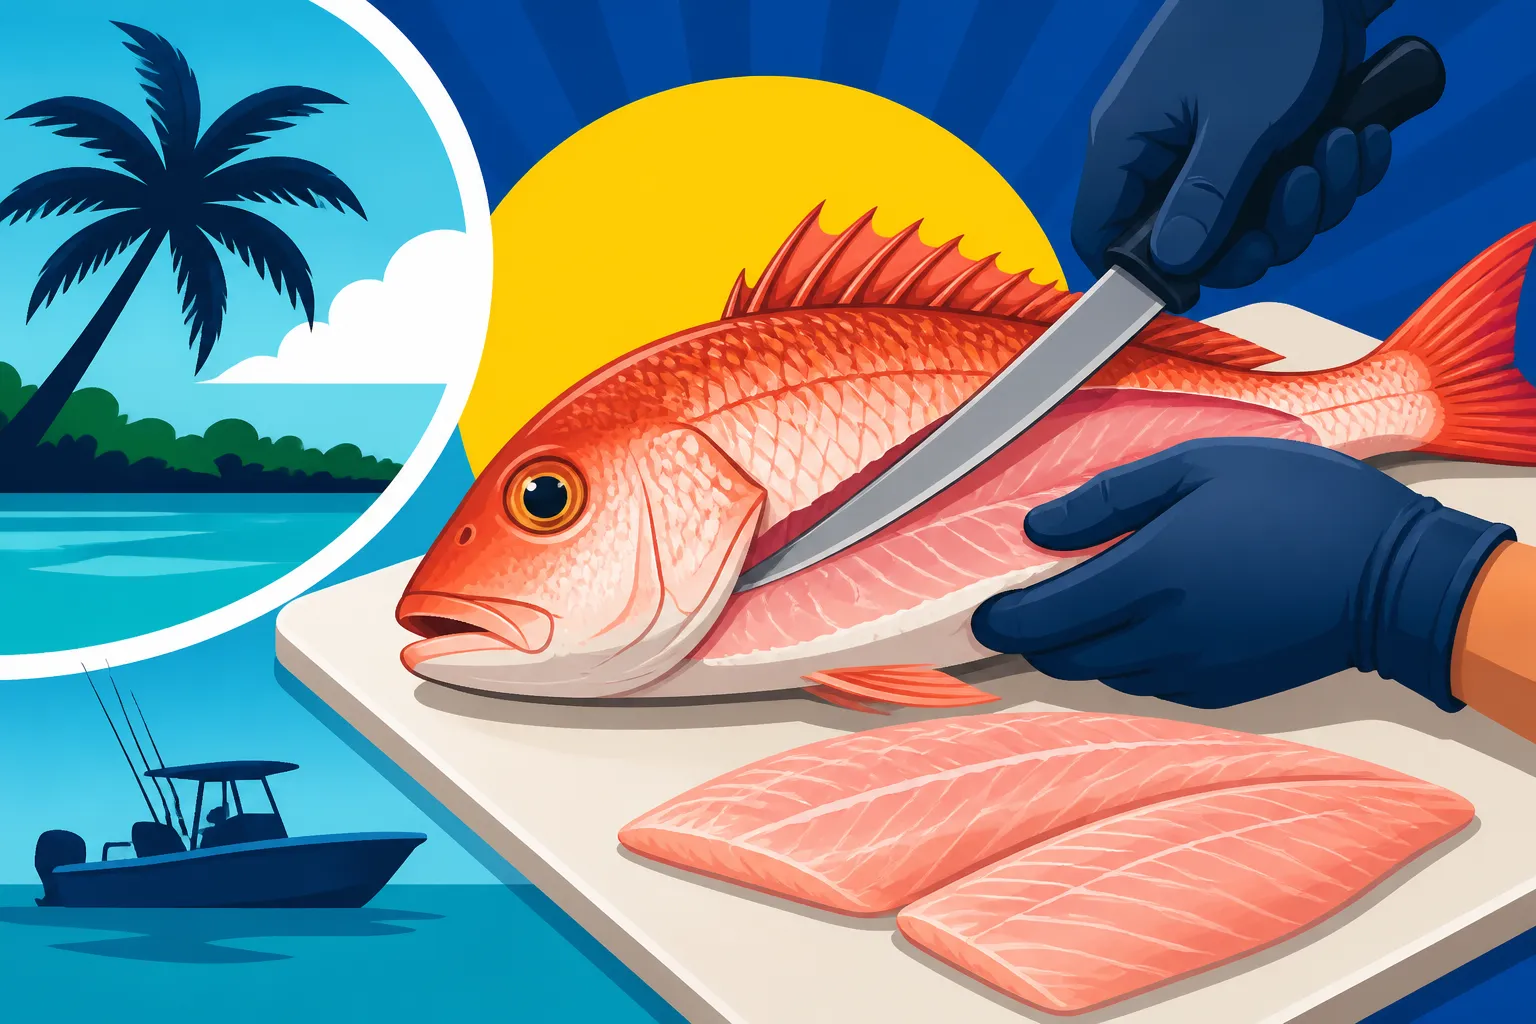
- First Cut (Behind the Gills): Starting behind the pectoral fin (the one just behind the gills), make a deep, vertical cut down to the backbone. You'll feel the blade hit the bone. Don't cut through the backbone itself, just up to it.
- Second Cut (Along the Dorsal Fin): Now, turn your knife so the tip points towards the tail. Keeping the blade flat against the backbone, run your knife along the top of the fish, from your initial vertical cut all the way to the tail. Use small, sawing motions and maintain contact with the bone. You're trying to separate the meat from the backbone as cleanly as possible. Take your time here. You'll essentially be making a shallow cut down the middle of the fish's back.
- Opening the Fillet: Once you've cut along the backbone to the tail, gently lift the fillet with one hand. Continue slicing, keeping your knife flat and working it along the rib cage. You want to feel the bones with your knife, guiding it over them to remove as much meat as possible. This is where a flexible fillet knife really shines, allowing you to bend around the ribs. When you reach the belly cavity, you’ll typically cut through the belly membrane to fully free the fillet.
Separating the Fillet from the Rib Cage
With the fillet partially detached from the backbone and free from the dorsal side, you'll need to separate it completely from the rib cage.
- Rib Cage Removal: Hold the fillet up and away from the body. Starting from the head end, carefully work your knife under the rib bones, keeping the blade angled slightly upwards and close to the bones. Slice towards the tail, following the curve of the ribs. The goal is to remove the ribs with minimal meat loss. This takes a bit of finesse. You want to leave the bones on the carcass, not embedded in your beautiful fillet.
- Completing the First Fillet: Once you've sliced past all the ribs, your first fillet should be completely free. Set it aside and repeat the entire process on the other side of the fish. Remember that many larger bottom-dwelling fish, like those you might target following a Florida Grouper Fishing Guide, require similar filleting techniques but with heavier knives due to thicker bones.
Removing the Skin (The Zipper Trick)
Now that you have two boneless fillets (mostly!), it's time to remove the skin. This "zipper trick" is a classic for a reason.
- Position the Fillet: Lay the fillet skin-side down on your clean cutting board.
- Start the Cut: Grasp the tail end of the fillet firmly. Make a small cut through the meat, just above the skin, about half an inch from the tail. Angle your knife almost parallel to the board, just above the skin.
- The Zipper: Once you have a small flap of skin free, hold it firmly with your non-dominant hand. With your dominant hand, gently saw your knife back and forth, keeping the blade flat against the skin and angled slightly down towards the cutting board. Pull the skin towards you as you cut, almost like unzipping it from the meat. The key is to keep the knife moving and pressed against the skin, not into the meat.
- Clean Skin Removal: Continue this motion all the way to the head end of the fillet. You should be left with a clean, skinless fillet. Discard the skin (or save it for fish stock if you're feeling adventurous!).
Dealing with Pin Bones and Belly Meat
Even after filleting, snapper can sometimes have a row of small, almost invisible pin bones running down the lateral line near the front of the fillet.
- Locating Pin Bones: Run your fingers along the center of the fillet. You'll usually feel a line of small, pointy bones.
- Removing Pin Bones: You have a couple of options:
- Pliers: Use a clean pair of needle-nose pliers or specialized fish bone tweezers to grasp each pin bone and pull it out gently in the direction it enters the meat.
- V-Cut: Alternatively, you can make two shallow, angled cuts along either side of the pin bone line, forming a "V" shape, and remove the small strip of meat containing the bones. This results in a slightly smaller fillet but ensures boneless perfection.
- Trimming Belly Meat: The belly section of the fillet can be thinner and sometimes has a bit of fatty tissue or membrane. Trim this off cleanly for a more uniform and visually appealing fillet.
- Final Rinse: Give your perfectly filleted snapper a final quick rinse under cold water, pat it dry with paper towels, and it's ready for cooking! You might want to consider how to prepare your fish after all that work by checking out our Best Way to Cook Snapper guide.
Tips for Maximizing Yield and Minimizing Waste
Every angler wants to get the most meat possible from their catch. It's not just about economy; it's about respecting the fish and the effort it took to catch it. With a little care and a few tricks, you can significantly increase your yield and even find uses for parts you might normally discard.
Practicing for Perfection
Let's face it, your first few filleting attempts might not be Instagram-worthy. And that's perfectly okay! Filleting is a skill that improves with practice. The more snapper you clean, the more intuitive the cuts will become. You'll learn to feel the bones with your knife, to glide along them, and to make precise movements. Don't be discouraged by a little meat left on the bones initially. Each fish is a learning opportunity. Over time, you'll develop your own rhythm and technique, and those fillets will start looking cleaner and yield more meat.
Utilizing Scraps
Just because you've removed the fillets doesn't mean the rest of the fish is trash! The carcass, especially the head and bones, can be an incredible resource for making flavorful fish stock. This stock can then be used in soups, stews, or sauces, adding a depth of flavor that store-bought broths just can't match. If you're targeting specific species like Florida Red Snapper Fishing Guide often brings in, their larger frames are fantastic for stock. Even the belly flaps and smaller trimmings, if meaty enough, can be chopped up for fish tacos or used as cut bait for future trips. Thinking creatively about what to do with the "scraps" not only minimizes waste but also extends the bounty of your catch.
Proper Storage for Freshness
Once you have those beautiful fillets, proper storage is key to maintaining their quality until you're ready to cook.
- Short-Term (1-2 days): For immediate consumption, place the fillets in an airtight container or sealable bag, and surround them with ice in the coldest part of your refrigerator.
- Long-Term (Freezing): For longer storage, vacuum sealing is the absolute best method. It removes air, preventing freezer burn and preserving flavor and texture for several months. If you don't have a vacuum sealer, wrap each fillet tightly in plastic wrap, then in foil, and finally place them in a freezer bag. This multi-layer approach helps reduce air exposure. Thaw frozen fillets slowly in the refrigerator overnight for best results.
Here’s a quick overview of common snapper types and considerations for filleting:
| Snapper Type | Typical Size Range | Filleting Considerations | Best for (Culinary) |
|---|---|---|---|
| Red Snapper | Medium to Large | Thicker bones, firm flesh. Requires a sturdy, sharp knife. Good yield. | Grilling, baking, pan-searing. Excellent whole-roasted. |
| Mangrove Snapper | Small to Medium | Smaller, more delicate bones. Easier to fillet once skilled. | Pan-frying, broiling, fish tacos. |
| Lane Snapper | Small | Very small, often pan-fried whole or in small fillets. Minimal filleting difficulty. | Pan-frying whole, small fillets for light dishes. |
| Mutton Snapper | Medium to Large | Similar to Red Snapper, firm white meat. Good size for substantial fillets. | Roasting, grilling, ceviche. |
| Yellowtail Snapper | Small to Medium | Delicate flesh, a favorite for whole cooking. Fillets are thinner but flavorful. | Sashimi, ceviche, pan-searing, light baking. |
Remember that when you're out there chasing these fish, knowing the regulations is just as important as knowing how to fillet. Check out guides like Red Snapper Size and Bag Limits or How Many Mangrove Snapper Can You Keep in Florida? to ensure you're fishing responsibly. The journey from hook to plate is an incredibly rewarding one, and mastering the art of filleting your snapper is a fantastic way to honor your catch and enjoy the freshest possible seafood!
Disclaimer
This article is for general informational purposes only and does not constitute professional advice. Laws, prices and regulations vary by location and change over time. Consult a qualified professional for guidance on your specific situation.